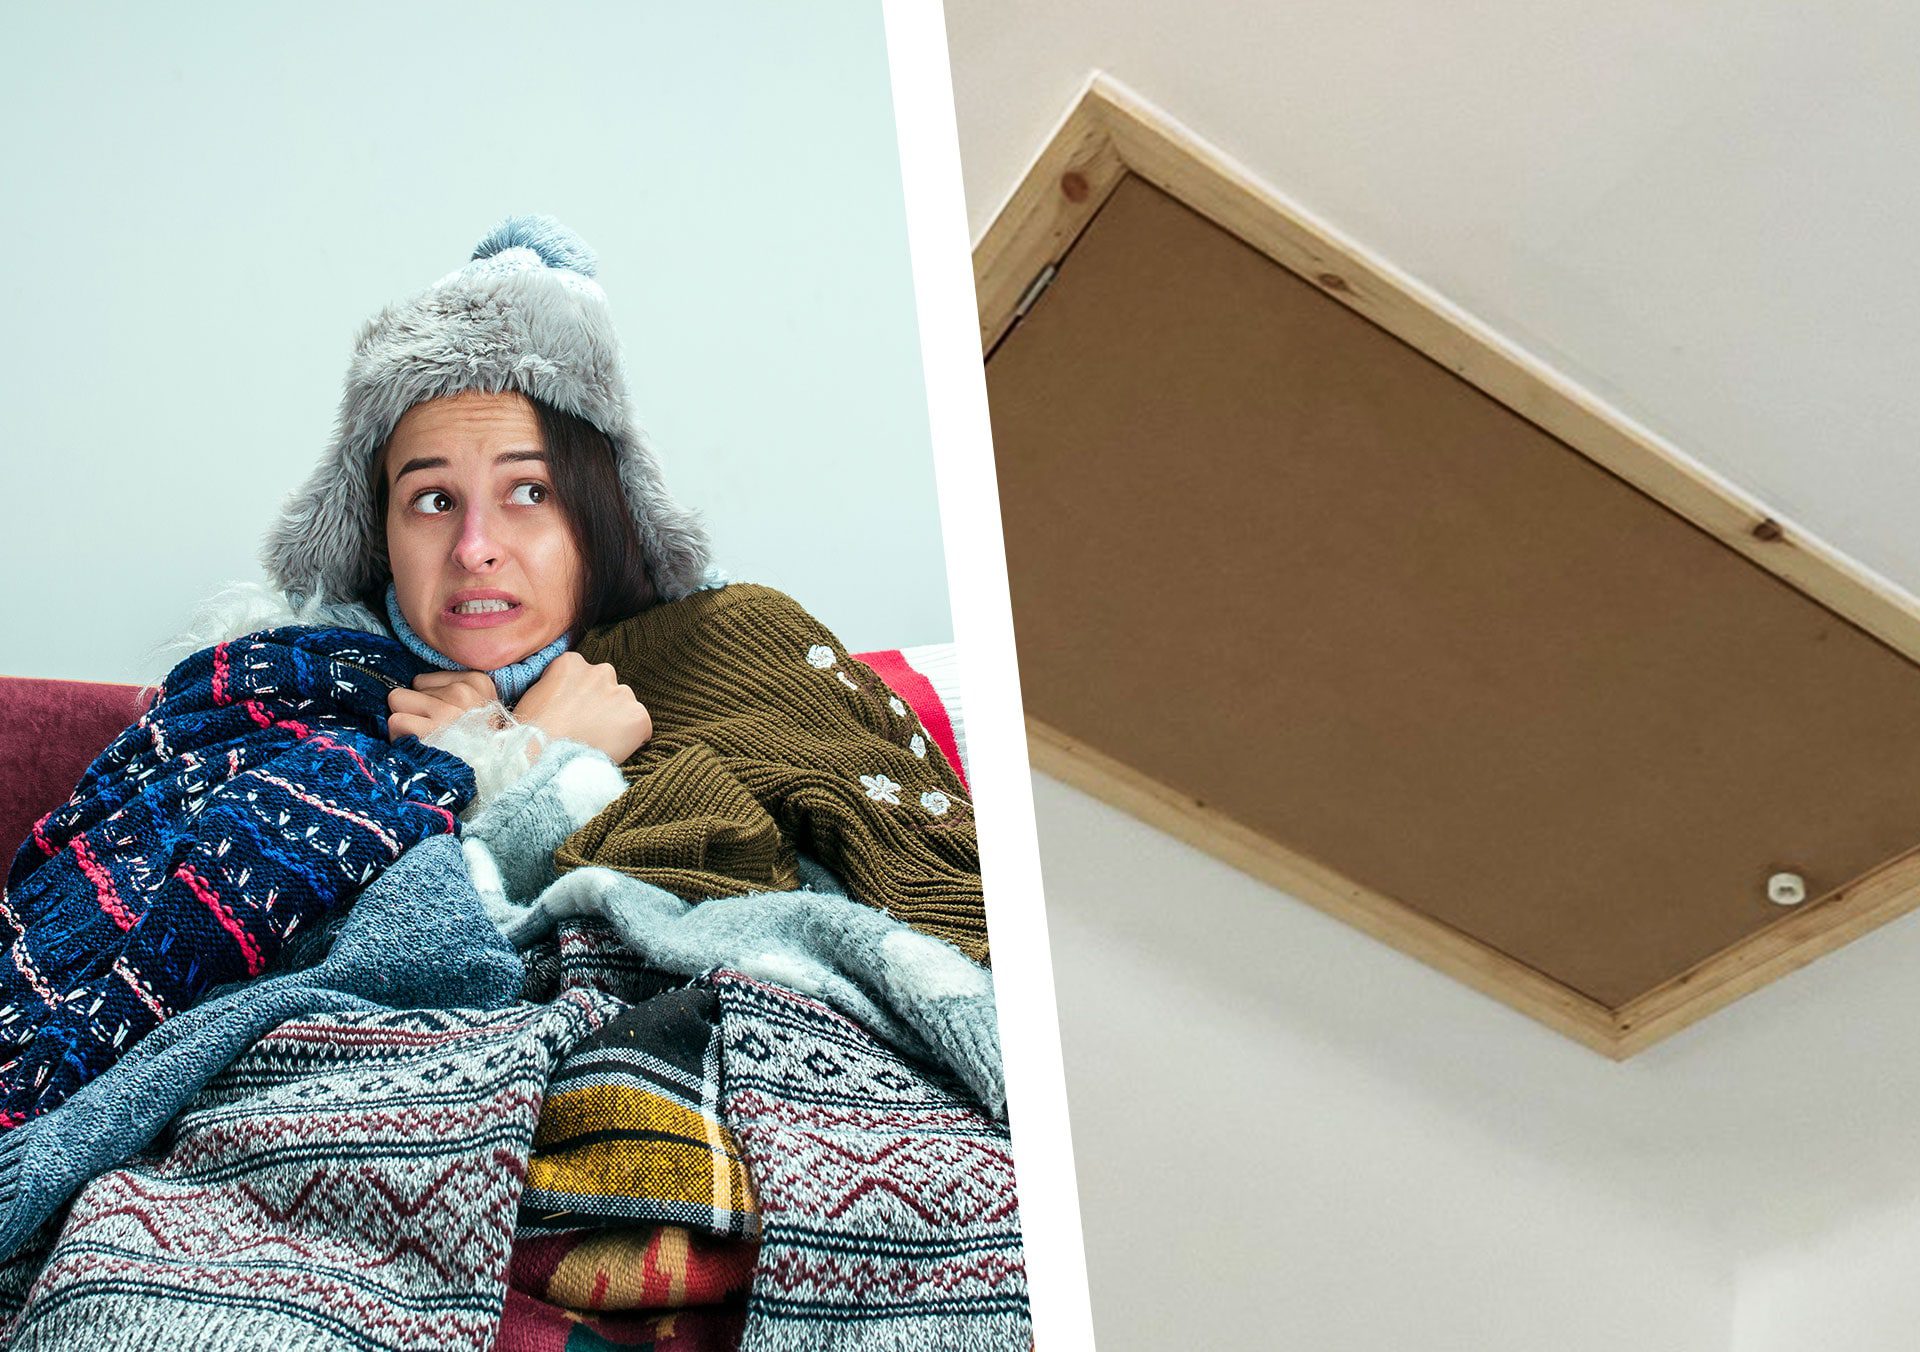
If you’ve got a draught of cold air coming into your top landing then it could very well be from your loft hatch. In this post, we’ll look at the causes of draughty hatches. And then talk about some ways to insulate and draught-proof your hatch. Awesome!
What causes a draughty hatch?
The simple answer is that cold air is coming into your loft space under the eaves (just underneath the edge of your roof). And some of that air is passing through the hatch into the livable part of your home. The problem is worse if you’ve got a cold loft – e.g. one that’s not insulated at all or only insulated at the joist (loft floor) level and not up to the rafters (a warm loft). We go into more detail on cold vs warm lofts in our insulation guide. Don’t worry though, cold air is supposed to be coming into your loft (more on that later). But if it’s coming into your home then that’s not good for anyone!
So why is that cold air entering through the hatch?
That’s simple… your loft hatch isn’t draught-proof! Of course!! And it’s probably not insulated either. Any gaps in your ceiling or around the hatch will let in that cold air. And there’s your draught problem! We come across this all the time. And it’s often the first sign that you need to give some attention to your loft space. The good news is that doing so will not only help to keep the top of your home warmer. It also provides other tangible benefits such as helping to reduce your energy bills and even increasing the value of your home!
But why is cold air entering my loft in the first place?
Great question, I was hoping you’d ask that! Well, this is actually a design feature and is not a fault of the housebuilder (or because there’s an unseen hole somewhere in your roof!). Roofs are designed to let cool air flow in through the sides so that the warm air that rises upwards through your ceiling is collected and got rid of. Cool aye? Without this, all that moisture would collect within your loft space and then start seeping back into the livable areas of your home. Not good! And this is actually quite common and one that can be made much much worse if the insulation is being squashed.

Even when you have a fully insulated loft with boarding you should still have air flowing through the gap between the flooring insulation and the underside of that boarding. This is the setup we always recommend as it’s the best way of dealing with warm, moisture-rich, air that could cause dampness and mould if not handled correctly.
How to fix a draughty hatch with an airtight seal
So let’s get to the nitty-gritty. There are several ways to fix a draughty hatch. The general principle here is to create an airtight seal around the edge of the hatch or frame. And this can be achieved quite easily using a compression seal or foam strip. Where this is applied will depend on which type of hatch you have. Here are some common scenarios:
- If you’ve got the type of hatch that rests on the frame surrounding, and swings into your loft, then a compression seal or foam strip can be applied around the edge of that frame. The strips would be facing upwards into the loft.
- And likewise, if you have a hinged hatch that swings downwards but rests against a post within the hatch casing/frame when shut then you’d apply the strip around that post. So the strips would be facing downwards.
- If you have a hinged loft hatch that doesn’t rest on a post then you’ll need to apply the foam strips to both the hatch surround and inside of the hatch frame so that the two strips meet and squash together a tiny bit. This scenario might be the trickiest to accomplish out of the three but with the help of a pencil and ruler or tape measure, it shouldn’t be too difficult.
- And finally, if you have the very old style of loft door that isn’t hinged or even attached to anything fear not! You should be able to use the techniques we’ve talked about above to draught-proof and insulate that too.
So what kind of foam tape or seal do I need?
You can get easy to apply adhesive-backed foam sealing tape which will do the job perfectly well. Here’s one I found on Amazon after a 30-second search (this is not an affiliate link!).
How do The Loft Boys draught-proof hatches?
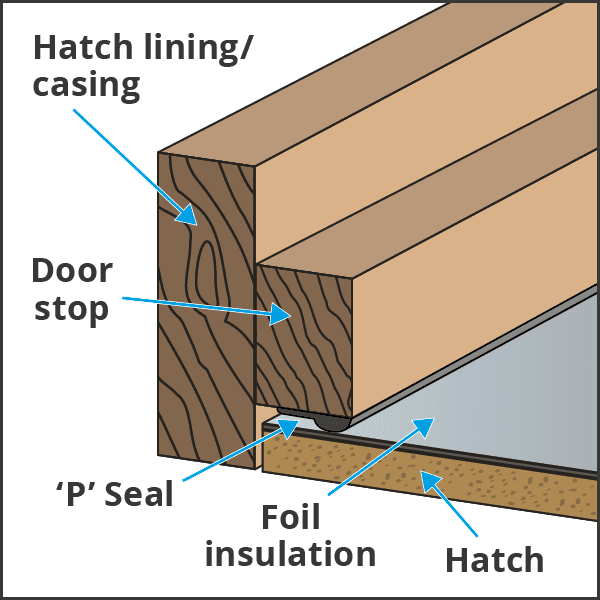
We’re happy to show you how! If we’re not installing something like a Fakro loft ladder that comes with a fully-insulated hatch and frame then we build one bespoke. And in that scenario, we usually opt for a hinged swing-down hatch with a post surrounding the inside of the hatch frame. The hatch then rests against that post when shut and it’s on that post that we apply a rubber ‘P’ seal as illustrated in the diagram below.
What’s the difference between a draught-proof and an insulated hatch?
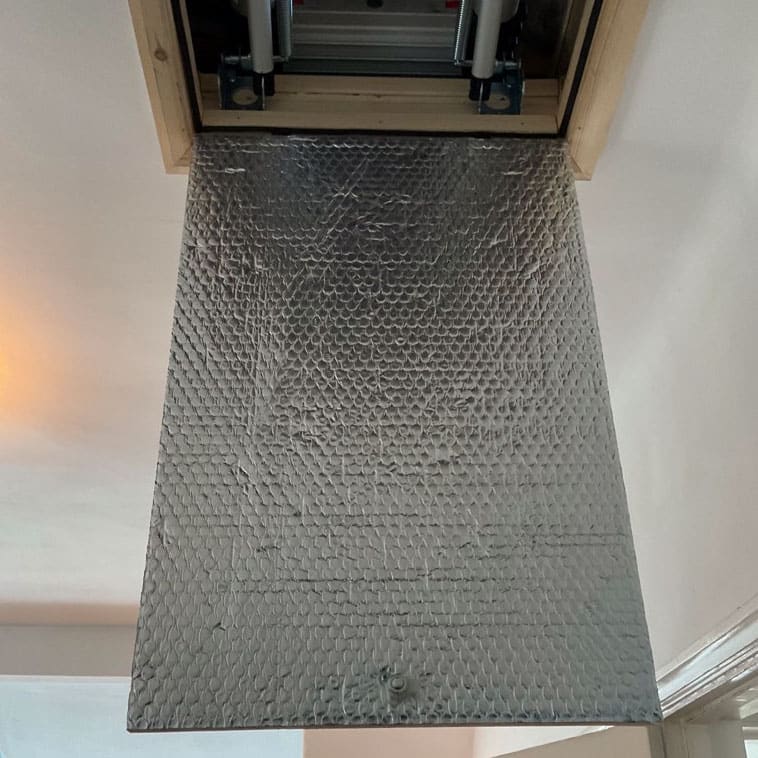
Insulating a loft hatch is a little bit different to draught-proofing it. Stopping the draughts is specifically about creating an air-tight seal around the hatch. But insulating it is when you actually put a layer of insulation on the back of the hatch. Why is this necessary? Well if your hatch is just a piece of MDF or similar then that won’t be enough to keep the cold from entering your home.
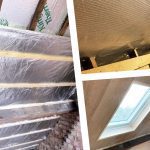
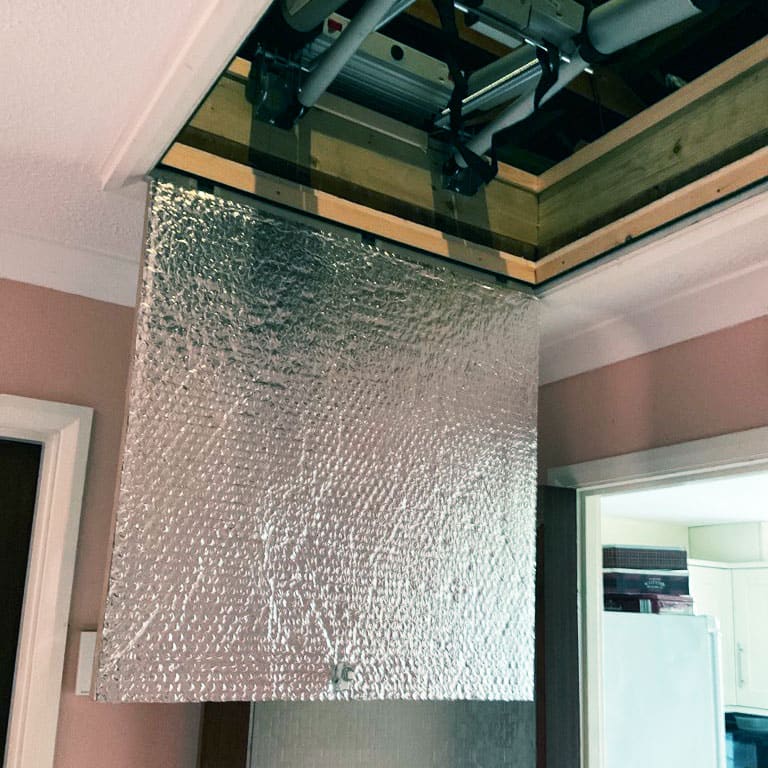
When we’re creating bespoke hatches for our customers we apply a layer of 7mm double foil insulation to the hatch which has the equivalent thermal value to approximately 50mm of polystyrene. We go for this depth because it’s less likely to interfere with the loft ladder. This type of insulation is fairly easy to buy online or from certain hardware stores such as Wickes.
The loft ladder supplier Fakro (from who we get most of our ladders) have a fantastic range of ladders that actually include the hatch and casings all attached together. They have various options and for people wanting a top quality, and energy-efficient, sealed loft space. They even have some with a fire-resistant hatch!
Staying safe while working around your loft area
It’s super important to always keep safety in mind when doing any work inside or around your loft space. A fall from height can lead to very serious injuries so always make sure you’ve got a good solid ladder and ideally ask a friend to help if possible.
Conclusion
We hope this has given you a fairly quick and easy solution to stopping that annoying loft draft from entering your home! It’s worth doing and not just for comfort… it also helps your wallet in the long run!
If you’d like to deep-dive into the exciting world of loft insulation then head over to or ultimate guide. It’s packed full of useful information about ways of making your loft more energy-efficient. And for an idea of what it would cost to kit out your type of loft, check out our packages.
Would you like to have your loft professionally insulated? Great, we’d be happy to help!
Request a quote todayWas this post useful? Here are some other’s you might like...
Does Loft Insulation Make a Difference?

How energy-efficiency upgrades like loft insulation can increase the value of your home

How to Prepare Your Home for Winter with Loft Insulation