We’ve created this blog post about rafter insulation because we realised that a lot of people search for this term but there isn’t much out there that explains it well. This mini-guide should answer some questions you might have. Such as what it is, where it’s applied and even how much it usually costs. Let’s get started…
What is Rafter Insulation?
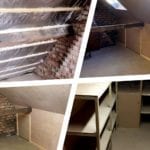
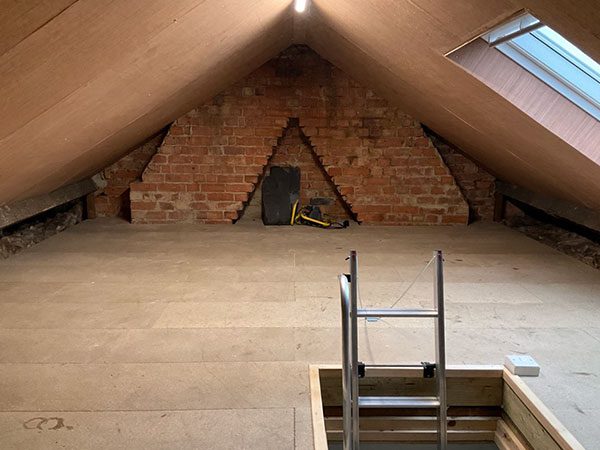
Put simply, rafter insulation refers specifically to insulation that’s applied to the underside of the roof. That’s between and/or over the rafters. How much insulation to apply, and which type, is mainly determined by what the loft will be used for.
Why is Rafter Insulation Necessary?
Adding rafter insulation to the underside of your roof will help regulate the temperature in the loft. Plus, it will help to increase thermal efficiency. This insulation will retain heat within the loft in the colder months and reflect heat in the hotter months. We refer to this type of loft as a “warm loft”. We go into more detail on cold vs warm lofts in our insulation guide.
What Types of Rafter Insulation Are There?
There are commonly three main types of rafter insulation used in the UK: PIR Rigid Board Insulation; Single-Layer Foil Insulation; and Multi-Layer Foil Insulation.
PIR Rigid Board Insulation
This type of insulation is generally used when a full loft conversion is being done. It’s made of PIR (polyisocyanurate) and normally inserted between the rafters with a minimum of a 50mm gap between it and the roofing material. Rafters would normally need to be extended to 120mm to accommodate a 70mm PIR inserted and a 50mm air gap. A 62.5mm insulated plasterboard would then be installed across the room side of the rafters to achieve the required u-value of 0.20 W/m2K or lower. (You can read more about u-values and the science of insulation on our guide page.) PIR comes in a range of different sizes from 12mm to 150mm. Compared to the foil insulation outlined below, this is the most expensive option, both in terms of the cost of material and the labour involved in installing it.
Multi-Layer Foil Insulation
Multi-Layer Foil Insulation is an aluminium-based membrane that when applied to the roof rafters, can help to regulate the loft space by stopping temperature influence from outside of the property. We normally recommend this type of insulation for “hobby rooms” which are used more often than those just built for storage.
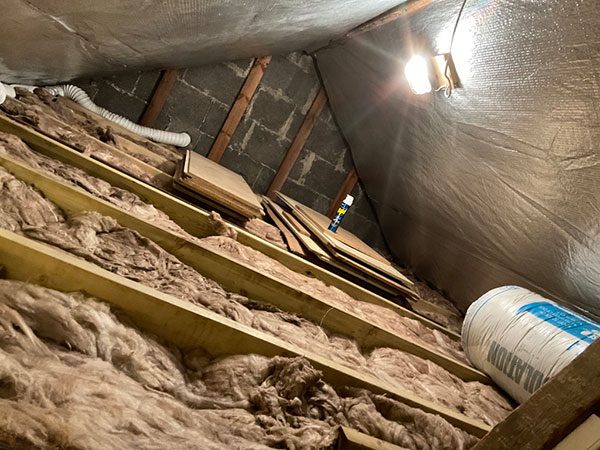
Single-Layer Foil Insulation
Single-Layer Foil Insulation is an aluminium-based membrane that, when applied to the roof rafters, can help to regulate the temperature within the loft space. It’s ideal for lofts that are used solely for storage purposes as a useful way of maintaining the temperature of your stored items.
What Can Be Put On Top of the Rafter Insulation?
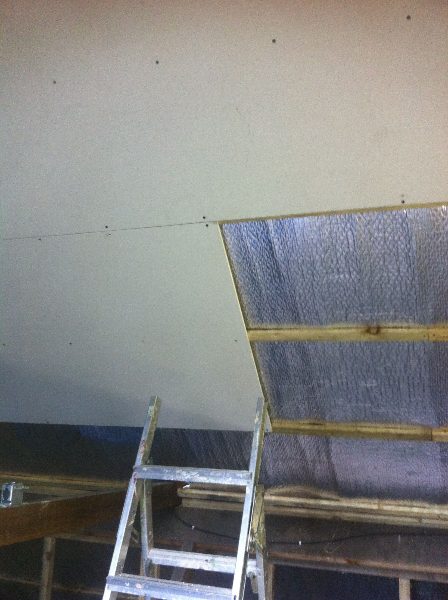
All three of the insulation types above can be covered with plasterboard or plywood although for the foil membranes counter battens are needed to help keep it in place and provide a way for the boards to be attached.
How Much Does Rafter Insulation Cost?
The rigid board insulation we would normally use is called Thermapitch TP10 which is made by Kingspan. Pricing for that would be based on the thickness required. We found a price for 70mm (pack of 4 boards) of £225.00 inc. VAT from Insulation4Less and that amount would cover an area of 11.52m2. So as you can probably already see, it does get expensive quite quickly!
The foil membrane however can be bought relatively cheaply online for as little as £15 per roll. At The Loft Boys, we use high-quality foils manufactured by YBS.
The installation cost for either the foil membrane or rigid board insulation would vary quite a bit. Therefore we’d recommend getting a quote based on your exact requirements.
Would you like to have your loft professionally insulated? Great, we’d be happy to help!
Read more about our Loft Insulation Service or…
Get Started TodaySome Important Considerations
Airflow in the Loft
It’s very important to maintain sufficient airflow within the loft to prevent condensation. When applying rafter insulation, and as we mentioned above, a minimum 50mm air gap should be kept in place between the insulation and the roofing material. To maintain this air gap from one side of the roof to the other, the roof ridge can be squared off with noggins to carry the insulation, creating a cavity above.
Additional air vents (with lap vents or vented roof tiles) can also be installed to ensure some air does circulate within the main loft space.
Roof Windows & Thermal Bridging
If you’re getting roof windows installed it’s really important that they are insulated around the window frame to prevent thermal bridges (that can be a major source of energy loss in homes). When we’re installing VELUX roof windows we use their BDX insulation frame which is a foam frame that surrounds the window and keeps everything properly insulated.
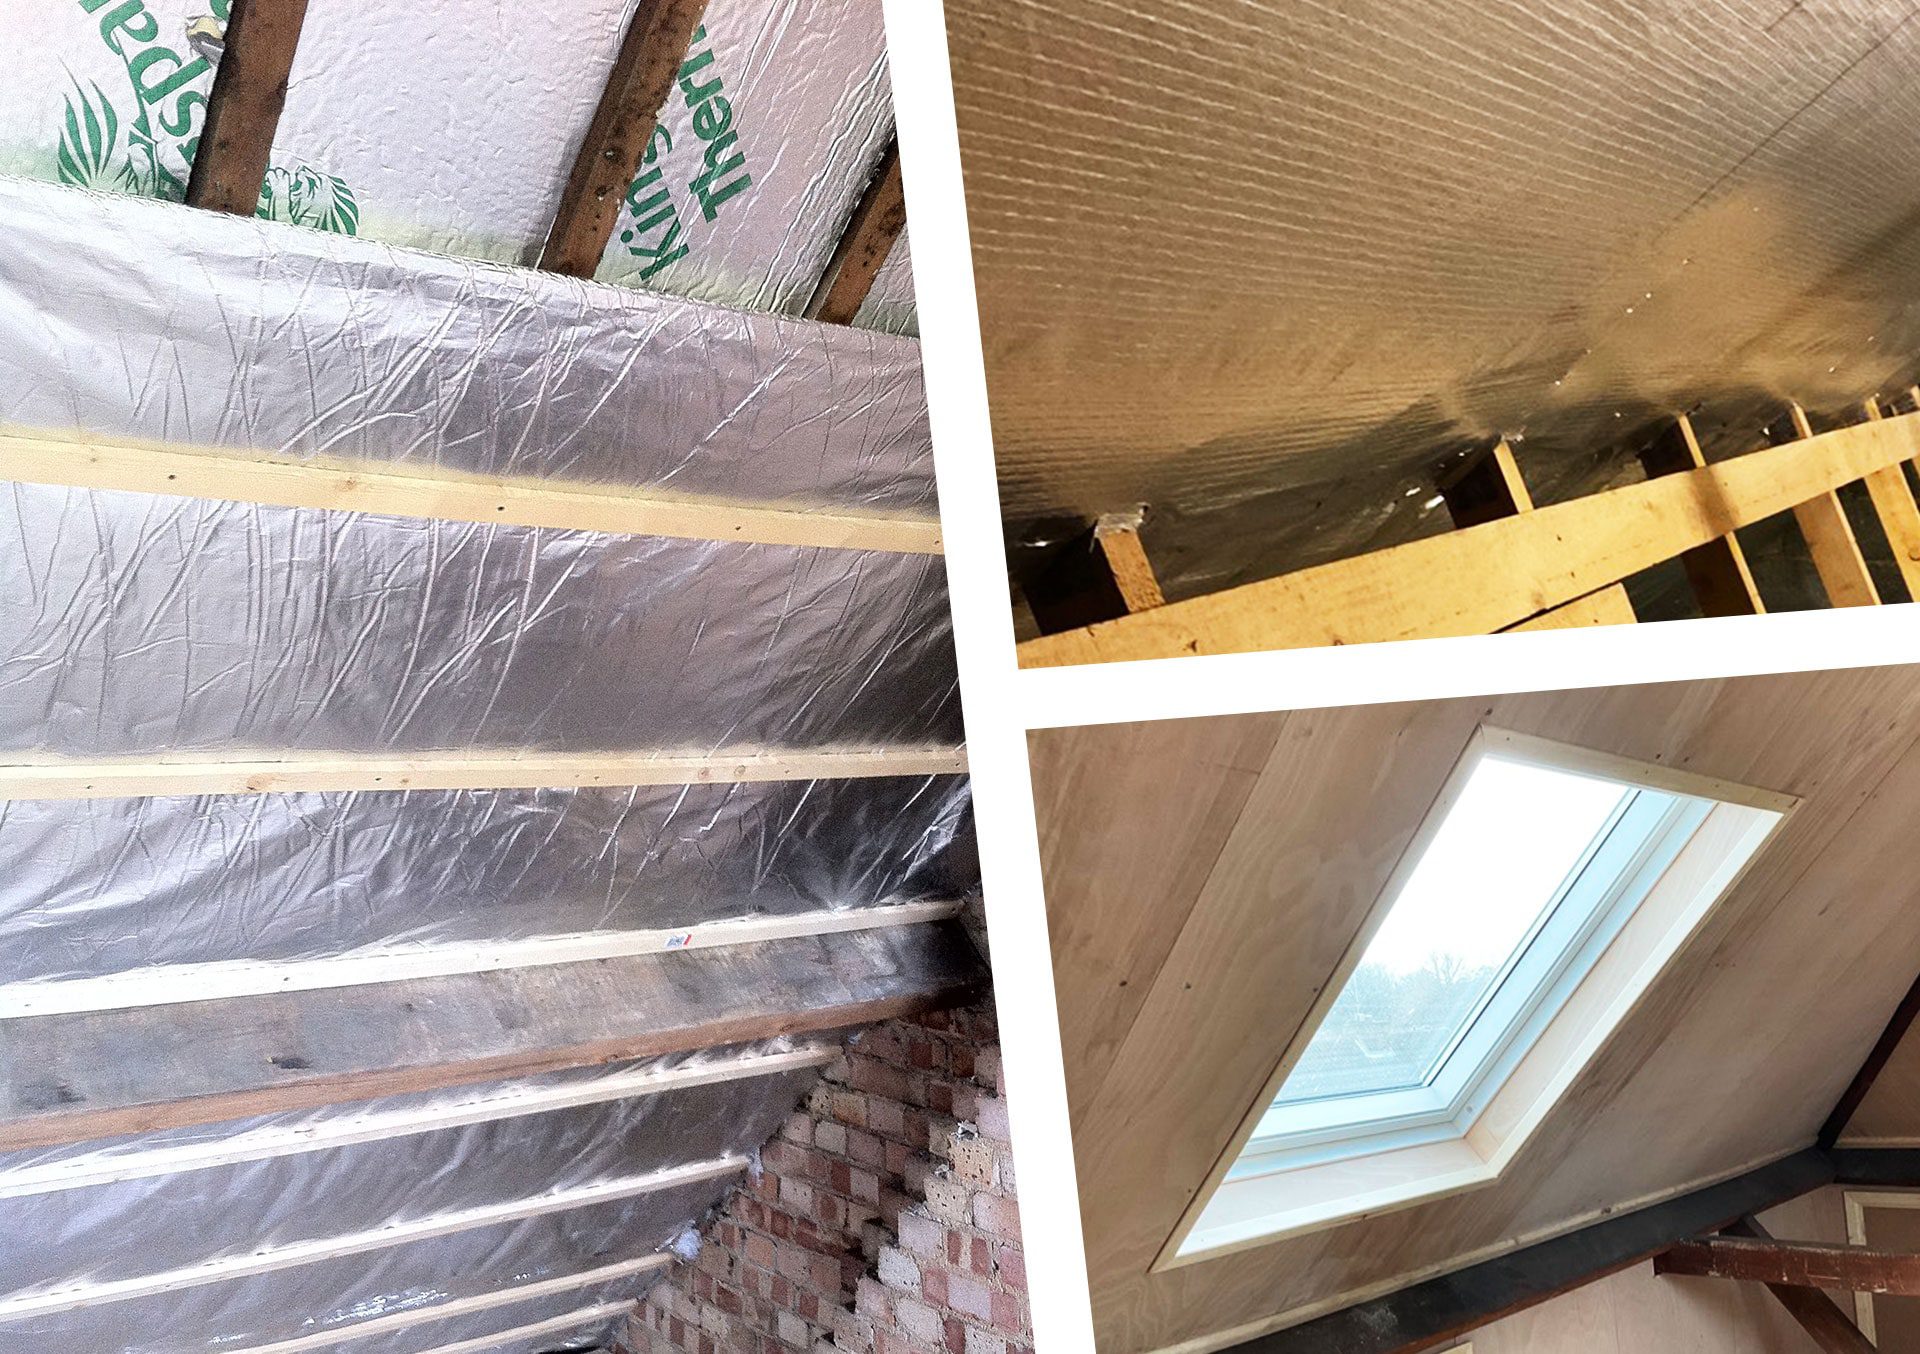
Insulating External Walls Within the Loft
Many lofts will have an external wall dividing the property from the outside or that of the neighbours and sometimes that wall should also be insulated. Again, the approach would differ if the loft is being used just for storage or if a full-blown conversion is being done. For storage, a multi-foil would be sufficient but for a conversion, you’d normally need the same as the PIR stated above (50mm plus a 62.5mm insulated plasterboard, but this can alter due to the age of the property). The target u-value is 0.30W/m2K or lower.
Thinking of Putting a Radiator in Your Loft?
Even if you’re not doing a full loft conversion, you might be thinking of adding a radiator. In those cases, we’d advise for the top level of insulation (rigid board) so as to make sure none of that heat escapes the loft.
A Quick How-To Guide to Fitting Rafter Insulation
Before Getting Started
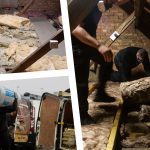
Before getting into the details of how rafter insulation is actually installed it’s important to carefully consider if you’re up for the task. Certainly, this is a job that a seasoned DIYer can take on but it’s worth remembering that a loft is usually a dark, dusty and uncomfortable place to work in. Hoofing insulation, tools and loft boarding up and down a ladder is also no joke!
We’d highly recommend (based on many many years of experience) that if you’re wanting a full loft conversion then leave the rigid board insulation to the professionals. That is a job that requires some expert knowledge of roof designs and installations. Installing the foil membranes, however, is more straightforward and most competent DIYers should be able to take this on.
Working in a Loft Safely
It’s important to mention some safety precautions before starting work in your loft. The first and probably most important thing is if you’re working in an un-floored loft space then crawl/kneel boards should be laid to enable safe movement. These boards can be temporarily fixed in place to eradicate the risk of creating traps or movement. It’s also important to bear in mind that a loft can be a very dusty place to work in. Plus if you’re cutting insulation small fibres could be produced. Therefore we always recommend wearing some kind of mask and preferably protective clothing too.
What Tools or Materials do I Need?
This is the same list of tools that our fitting team take with them on these types of insulation installs:
- The Insulation Rolls (we’ll just be covering the foil membranes in this guide).
- Self-Adhesive Aluminium Insulation Tape – used to join strips of membrane together.
- Rubble Bag – for any bits of waste you’ll be taking out of the loft.
- Drill – more for if you’re also boarding over the insulation this one.
- Staple Gun – this one is an absolute necessity on these jobs, don’t try using anything else!
- Utility knife/scissors – for cutting the insulation to size.
- Hand Saw – for cutting the boarding (and not the rafters… never do that ever!!!)
- Chop Saw – far the quickest and most efficient tool for cutting boarding but might be best left to the professionals this one!
The Installation Process
- The first step to installing rafter insulation (after your health and safety precautions of course) is to unroll your insulation and cut it to suitable lengths with scissors or a utility knife.
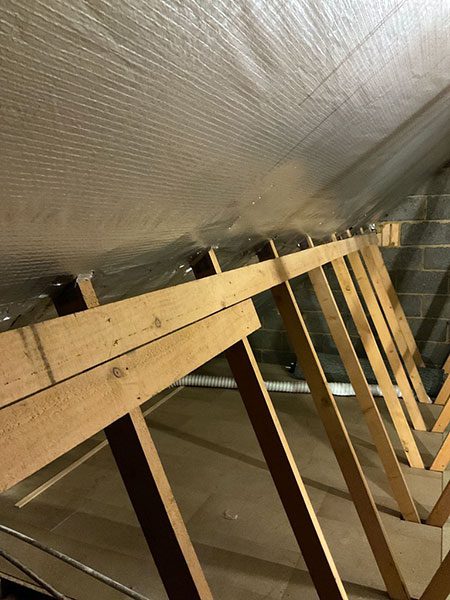
- Staple the Multifoil to the underside of exposed rafters, ensuring there is a ventilation gap of at least 50mm between the insulation and the roofing felt.
- Ensure there is an overlap of at least 75mm where cut edges come together.
- Tape all joints in the Insulation using the self-adhesive aluminium tape to give a vapour seal and increase the thermal value.
- Make sure all rafters and purlins are fully covered and use extra staples in corners to ensure a secure fit.
- To help keep the insulation in place and provide a way of attaching boarding, 19mm x 38mm sawn timber retainer battens will need to be installed over the face of the insulation and onto rafters using 4mm x 60mm screws. These are to be installed at 600mm centres and run perpendicular to rafters.
Conclusion
Rafter Insulation is a great solution if you’re planning on spending any amount of time in your loft. Keeping the temperature stable within your loft will also ensure that any delicate items stored there won’t be damaged. If you’ve ever been inside an uninsulated loft during the summer you’ll know how extremely hot they can get! And likewise in the winter, loft spaces can be bitterly cold. And as you read, this doesn’t have to be an expensive option and can be done by a DIYer.
If you’d like to deep-dive into the exciting world of loft insulation then head over to our ultimate insulation guide. It’s packed full of useful information about ways of making your loft more energy-efficient. And for an idea of what it would cost to kit out your type of loft, check out our packages. Finally, you might want to check out our other guides on loft boarding, ladders or lighting.
Would you like to have your loft professionally insulated? Great, we’d be happy to help!
Read more about our Loft Insulation Service or…
Get Started TodayWas this post useful? Here are some other’s you might like...
Read This Before You Get Loft Insulation Installed!
Does Loft Insulation Make a Difference?

How energy-efficiency upgrades like loft insulation can increase the value of your home

How to Prepare Your Home for Winter with Loft Insulation